Raising Honey Bees
For more than 5,000 years, beekeepers have managed bees to retrieve their honey. Management of a beehive takes good stewardship and requires time and knowledge of bees. While it is not hard work to care for a hive, you do need to open them and inspect them regularly. Bees need to have a good store of honey and room to expand if their population grows.
Bees need to be left enough honey to feed the hive through the cold seasons when they cannot find flowers to produce their food. After you have ensured the bees have enough for their population, the extra can be used for your family and still have some to sell or barter. This is a great way to boost your family income.
The Honey Bee Hive
To begin beekeeping you need some basic equipment. The hive is your first piece of equipment and you can add to that as you learn more about keeping bees. To assist you in choosing your hive, look at our Glossary of Beekeeping Terms and learn what the basic parts of a beehive are needed. There is also bee terminology listed you should learn to better understand how to be a beekeeper.
Looking at the illustrations should show what you need for your hive. Many beekeeper suppliers offer starter packages that include everything you will need to begin your first hive.
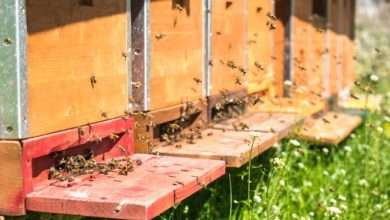
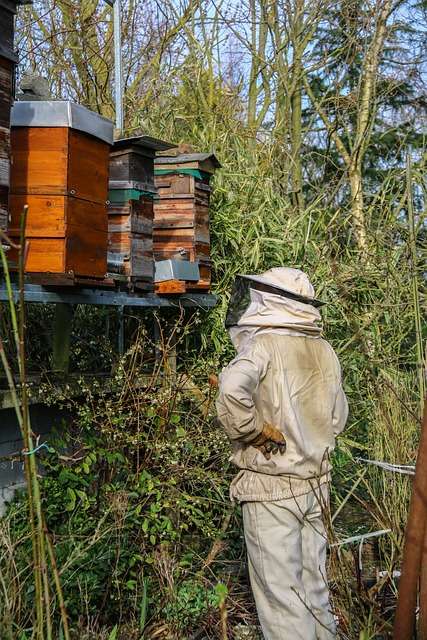
Once you have your hive and all the necessary parts, you need to select a location to set it up. The attached illustration shows how you should elevate the hive and not just have it sitting on the ground. Concrete blocks are a good source for elevating hives. There are wooden stands you can purchase which have been made especially for setting hives on. They need to be placed high enough so they are not in the grass.
The attached illustration shows how your basic beehive should be setup. Most beekeeping manuals describe the use of shallow honey supers (check glossary) on top of the deep hive bodies. Some beekeepers use the same size supers as the body. This is something you will learn as you continue with beekeeping as to what works best for you.
Using the same size super as the body allows you to buy or make just one size and the foundations can also be all the same size. If you use the deep supers the weight of them can be a drawback as they can weigh up to 100 pounds when full. The pros to using the deeper supers are they will decrease the amount of handling as compared to the shallow supers.
There is a trick to using only nine frames in the standard ten frame super. When evenly spaced in the super, bees will draw the comb out further. This method puts the capping’s up higher on the edge of the frame and will decrease the amount of time it takes to uncap them. Spacers can be purchased or you can make your own to make sure you get the correct spacing on the frame.
Frames are an essential in the basic equipment you need for your hive. The frame allows you easy and quick access to check on the condition of your bees, and the removal of the honey. The frame needs to be setup with a wired foundation.
These are sheets of beeswax with two important features:
- They have to contain embedded wires to help support the comb and make sure it doesn’t tear when you take the honey out.
- It has to be embossed with the exact shape of the honeycomb that will be taken out of it. This will ensure you get a nice, uniform comb.
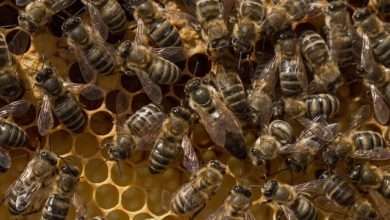
The Honey Bees
Once the hive is complete and set in the proper location, you are ready to get your bees. The best place to purchase your first hive of bees is from a commercial supplier.
Installing the Bee Package
When you get your bees home, you will need to feed them sugar syrup as they will have used up the supply sent with them on
their journey. Giving them nourishment is important and simply done by making a simple syrup with two cups of sugar mixed with one cup of boiling water. Mix the syrup thoroughly and allow to cool.
Once the syrup is cool, use a small paint brush and paint the solution onto the wire sides of the cage. The bees will calm as they eat and will take as much as you put on. Don’t soak them with the syrup, simply brush on a coating and let them finish cleaning it off. It is best to wait until late afternoon or early evening to place the bees into their new hive. If needed, you can store them in a cool, dark place until the time is right.
Before placing the bees in their new hive, you should check that you have:
- A bottom board on a solid base
- A hive body and its cover ready
- Have enough frames- five or six with the foundation in the hive body
- Have remaining frames available and handy for when needed
- Have your bee suit or jacket on
- Have your gloves ready
- Have your smoker (check glossary) handy and ready to use
- Have a package of sugar syrup and brush ready
You are now ready to open the bee package and remove the tin feeder can.
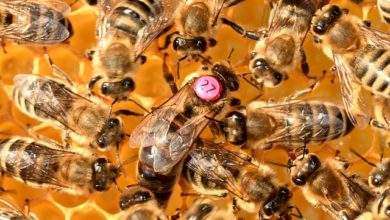
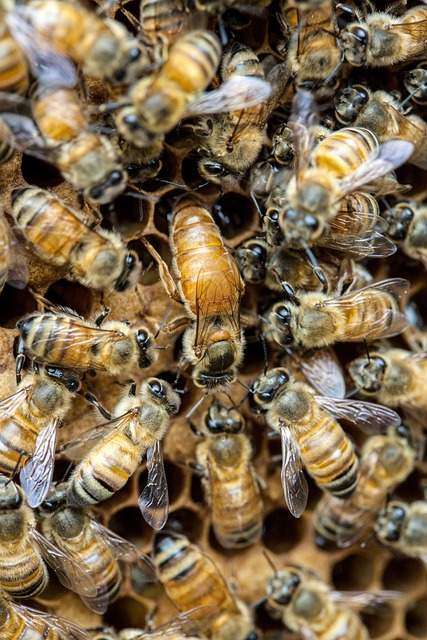
When you open the package you will see the Queen suspended inside a small cage at the top of the package. Remove the cage with the Queen inside and any bees that are clinging to it. Close the package so no other bees can get out.
The Queen’s cage should have a small stopper on one end to prevent her from escaping. Beneath that stopper is a plug of sugar which the bees will quickly remove to allow her out. Gently place her cage, with the stopper removed, nearest the center of the hive and allow the bees to work at setting her free.
With your smoker, give the package a gentle puff of smoke and remove the closure. Shake gently until a bunch of bees go right over the Queen’s cage. The remaining bees should be shaken out and into the space where the frames were taken out of the hive body. The bees will want to find cover in the darkness of the hive and join the rest of the bees.
There are always some bees that stayed behind in the package so set it near the entrance and allow them to find their way inside. Gently put the remaining frames of the foundation into the hive body and place the inner cover on.
You will need a feeder at the entrance or just inside an empty hive body with the same simple solution you fed them when you got them home. Monitoring the bees is important to ensure they are healthy, getting enough food, and starting to work.
It may take about a week before they completely settle down in their new home and during that week the Queen will start laying her eggs. When you see that the bees are going outside the hive and collecting their own pollen, you can stop feeding them. You can now remove the feeder and extra hive body and replace the top cover over the inner cover.
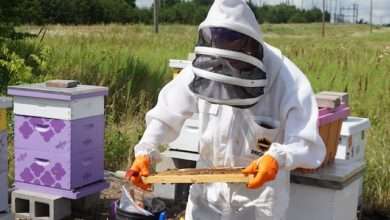
Working with Your Honey Bees
To begin work with your hive use the smoker. Give the hive a few good puffs of smoke directly into the hive entrance. Lift the covers, top and inner, and make sure smoke goes into the super. This will make the bees calmer and allow you to work around them more safely.
The smoke masks alarm pheromones, a chemical released by guard bees or others when you enter their hive. The smoke also
creates a feeding response in the bees as they think their hive is in danger. They will fill up on honey in anticipation of having to flee the hive. A bee that is full of honey will have a harder time stinging. Do not puff the smoker too much as you do not want a hot smoke or actual flames as this will endanger the bees.
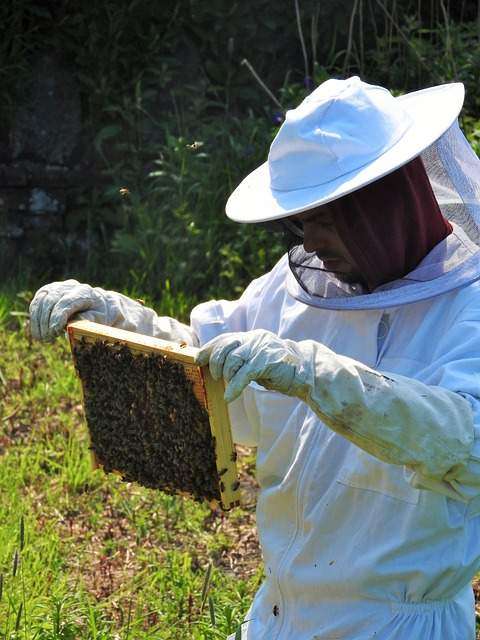
Bees can do most of their own work; they generally just require monitoring from time to time. When you check your hive, wear light colored clothing as bright colors appear to agitate bees. When you use your beekeeping clothes, smoker, gloves, and hive tool (check glossary) you should have relatively no problems working around the bees. Working calmly and steadily is also suggested as they will react less to smooth movements than those which are too fast and unsteady.
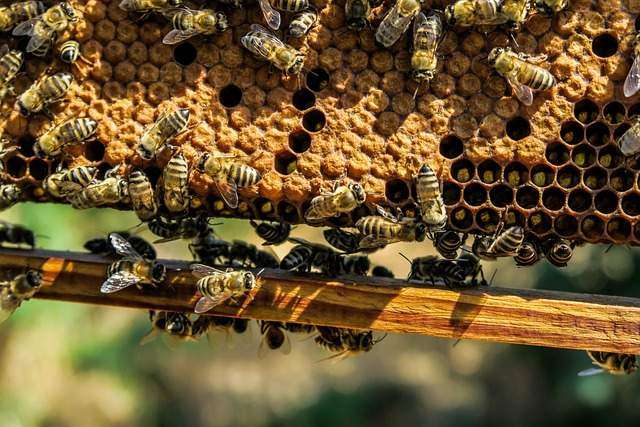
Remove the covers and using the hive tool lift a few frames out to examine them. Check to see if the comb is fully drawn out and being filled with honey. Check if the combs have been capped off and are ready for you to extract the honey from them. While checking these, look at the bees and make sure they appear healthy and active.
When finished replace the covers. If you have used smoke to settle them, the bees will clear the hive of any remaining smoke after you’ve replaced everything and life for them will settle down and soon be back to normal.
The Honey
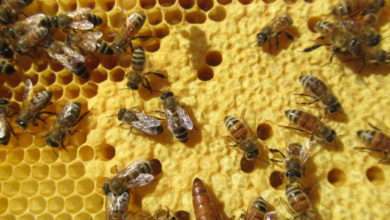
While checking the hive if you have found the supers to be full of capped honeycomb, it is time to remove your honey. Before you take the honey, you must be sure to remove the bees from the super.
To do this you can use a commercial product called, Bee-Go. It is a chemical solution you place on top of the hive in place of the top cover.
You can do this by making a fume board out of an old hive cover and staple a layer of burlap over it. The burlap will act as an absorbent pad to apply the chemical too. The bees do not like the odor given off by Bee-Go and will descend deeper into the hive.
It generally only takes a few minutes for all the bees to move down so you can extract the super to remove the honey.
Another product that works well to move the bees is, Fischer’s Bee-Quick. It works under the same principle as the Bee-Go.
Extracting the Honey
Using a mechanical extractor will make removal of the honey much simpler. If you are not using frames specially designed to take sections of the honeycomb out, then you really need to have access to a centrifugal type extractor. These extractors are not cheap and can be built at home, but you will have better luck with a manufactured model. One idea is to check with other beekeepers in your area to see if they would be willing to pool together on a purchased one.
From the full supers, you need to remove the wax caps on the combs. Each of the cells will be full of honey and the caps need to come off to get the honey out. One method is to have knives submerged in hot water and use them to slice the caps off. When one knife cools and no longer slices the cap evenly, change knives and take a fresh hot one. Place the caps into a pot as a lot of honey will drip off of them which you want to keep. There are specially heated knives you may eventually want to invest in.
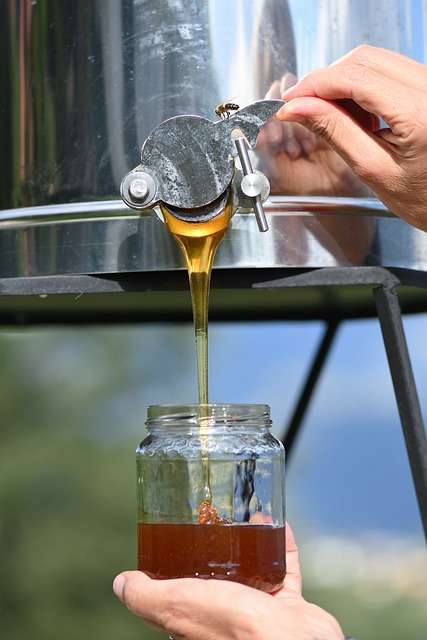
Place the frames into the extractor once you have removed all the caps with the top bar facing outward. This is important to make sure you get all of the honey out of the comb. As the honey is extracted from the frame, replace them in the super. The honey will accumulate on the bottom of the extractor and you will need to drain it off. Run the honey through a few layers of cheese cloth to remove any wax, pollen, or bees. You are now ready to pour it into jars of your choice.
Winterizing your Hive
Bees do not hibernate or sleep during the winter months. They will form a cluster and generate heat to survive the cold temperatures. This generation of heat will create moisture or condensation and standing water is not a good scenario for your hive’s survival. In the wild, bees maintain a single entrance at the bottom of their hive so they are able to fan fresh air or ventilate the hive. Try to mimic nature by using a thicker wood to act like a hollow log and let the bees seal up the cracks as they would naturally. Try not to open the hive at all during cool or cold weather. In nature, bees also protect themselves against mice or other varmints that look to steal their food during the cold months. Again, you will have to help them guard their entrance by placing barriers up so they cannot be invaded. Winterizing the natural way also means leaving them enough honey to eat during the winter. If unsure as to how much to leave, it is better to wait until spring to harvest to ensure your hive can survive.
Any supers not being used by the bees for the winter need to cleaned, inspected for damage or rot, and stored in 50-gallon sized lawn bags until ready for use next summer.
The information in this article does not cover all the fascinating facts of beekeeping. It is the hope that it will motivate you and get you started on wanting to expand your knowledge and begin your beekeeping.